Cart is empty
DIY Guide: Installing Fluted Panels in Your Home
31 Jul 2024
DIY Guide: Installing Fluted Panels in Your Home
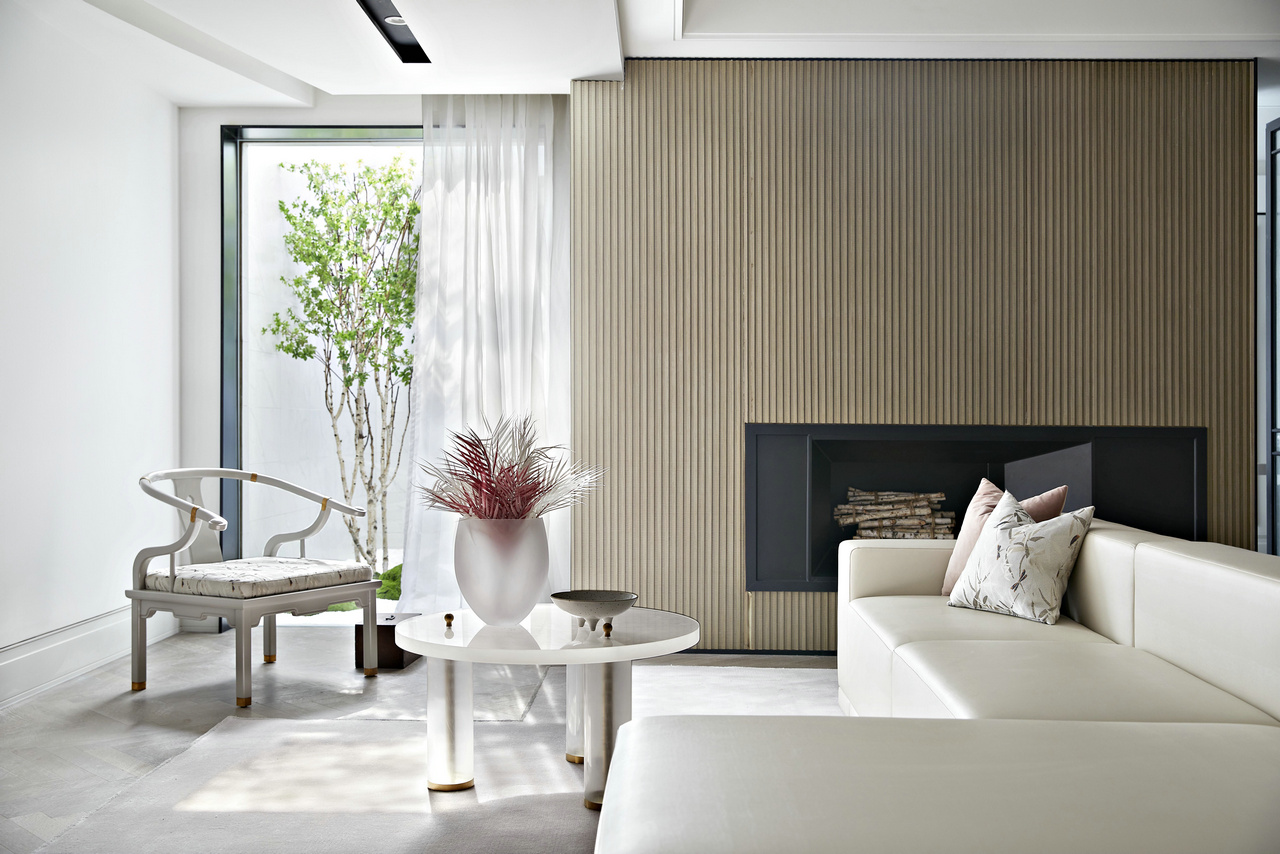
Fluted panels are a stylish and functional addition to any home. They not only bring a touch of elegance but also improve the acoustics of a room. Their vertical grooves create a striking visual effect that can transform the look of any plain looking walls. At Panelcraft, we aim to help you achieve this transformation effortlessly, whether you're a DIY enthusiast or someone who prefers professional help. This guide will walk you through the steps of installing fluted panels, ensuring a successful project. Remember, if you need any assistance, our professional team at Panelcraft is ready to assist.
Tools and Materials You'll Need
Gather the following tools and materials before starting:
- Fluted panels of your choice
- Measuring tape
- Pencil
- Level
- Saw (hand saw or circular saw)
- Adhesive (construction adhesive or panel adhesive)
- Nails or screws (if required)
- Sandpaper
- Paint or stain (optional)
- Safety gear (gloves, goggles, and mask)
Step-by-Step Installation Guide
1. Measure and Plan
Measure the wall where you plan to install the fluted panels. This helps determine the number of panels needed and ensures an accurate fit. Use a pencil and level to mark the placement of each panel on the wall.
2. Cut the Panels
If necessary, cut the panels to size. Measure and mark the panels, then use a saw to make precise cuts. Lightly sand the edges to smooth any roughness.
3. Prepare the Wall
Ensure the wall is clean, dry, and smooth. Sand the wall lightly if needed to create a good surface for the adhesive.
4. Apply Adhesive
Apply industry-standard adhesive to the back of the first panel. Press the panel firmly onto the wall, aligning it with your marked lines. Hold it in place for a few moments to allow the adhesive to set. For larger panels, you might need to use a specialized adhesive to ensure a strong bond.
5. Secure the Panels
Depending on the panel type and adhesive used, you may need to secure the panels with nails or screws. Drive nails or screws through the panel into the wall studs, spacing them evenly.
6. Repeat the Process
Continue applying adhesive and installing the remaining panels, ensuring each one aligns with the previous panel. Use a level to maintain straight lines.
7. Finishing Touches
Fill any gaps or seams with caulk or wood filler. If desired, paint or stain the panels to match your décor. Allow the paint or stain to dry completely.
Additional Tips
One crucial step in the installation process is ensuring that your panels are acclimatized to the room where they will be installed. This means storing the panels in the installation area for at least 48 hours before starting the installation. This helps the panels adjust to the room’s temperature and humidity, reducing the risk of warping or buckling after installation.

Benefits of Professional Installation
While installing fluted panels can be a satisfying DIY project, professional installation offers several advantages. At Panelcraft, our experienced professionals ensure precise and efficient installation, saving you time and effort. We handle complex installations and guarantee a flawless finish, allowing you to enjoy a beautifully transformed space without the hassle.

Conclusion
Installing fluted panels is a great way to enhance your home's look and feel. By following this DIY guide, you can achieve professional results with ease. However, if you prefer professional assistance, the experts at Panelcraft are ready to help. Visit our website or Contact Us today to explore our range of fluted panels and discover how we can help you transform your space. Whether you're taking on a DIY project or seeking professional installation, Panelcraft is here to support you every step of the way.
